A hose clamp looks simple until a leak appears under pressure. The right choice depends on hose material, outside diameter, operating pressure, temperature, vibration, and exposure to moisture or chemicals. A clamp that fits a workbench sample may loosen after repeated heat cycles. Small details matter.
Grand View Research’s Hose Clamp Market Size, Share & Trends Analysis Report tracks demand across automotive and industrial applications. This broader market view highlights why dependable clamping remains relevant as equipment and fluid systems evolve. Market growth, however, does not tell you which clamp suits a specific connection. For that, technical details matter more. SAE J1508 provides a recognized framework for evaluating many worm-drive hose clamps, including performance-related requirements. Always confirm that a product’s design and rated range match the application; not every clamp follows the same construction or standard.
This guide explains how to choose a Hose Clamp by comparing clamp styles, materials, sizing, and installation needs. It also considers practical conditions, such as a rubber hose warming beside an engine or a stainless-steel line exposed to washdown water. Measure the hose where the clamp will sit, then check the manufacturer’s recommended diameter range and tightening guidance. Avoid relying on appearance alone. A familiar band can still be the wrong fit, and that is easy to overlook. Product data sheets and application testing provide better evidence than guesswork, though real-world conditions can still reveal surprises.
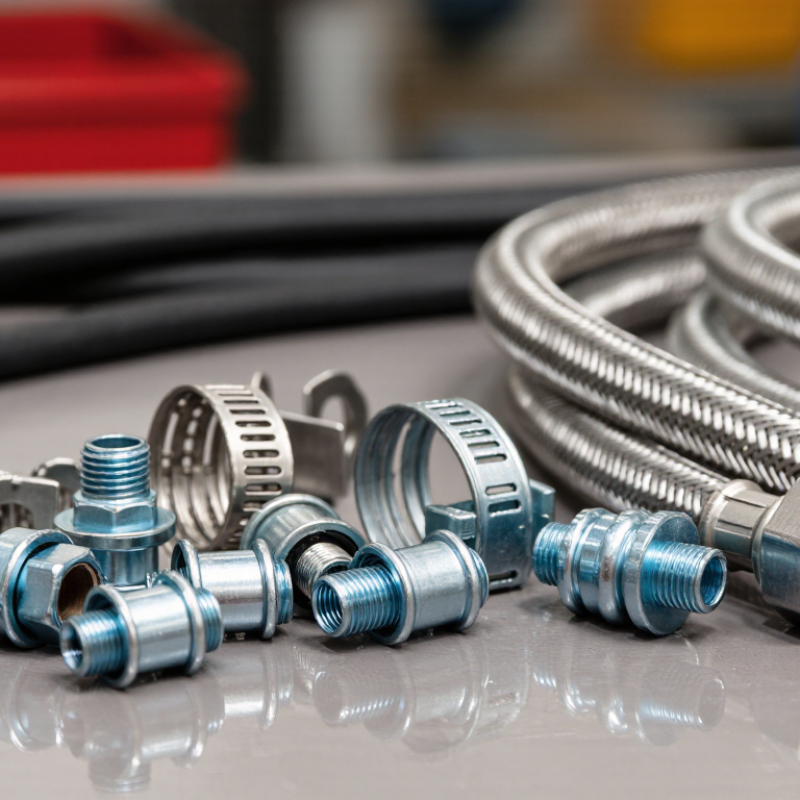
Choosing a hose clamp starts with understanding how it creates pressure. A worm-drive clamp tightens a slotted metal band as its screw turns. It is adjustable, but overtightening can deform soft hose or cut into its surface. Spring clamps use elastic steel to maintain radial force as hose dimensions shift with temperature. They suit compatible assemblies with repeated heat cycles. T-bolt clamps use a bolt and nut to pull a wider band together. They can provide strong, even compression on larger hoses, but need careful sizing and specified tightening torque. A useful distinction: clamp style alone does not guarantee a leak-free joint.
For automotive applications, SAE J1508 provides a technical reference for hose-clamp specifications and performance evaluation. ISO 9227 describes controlled salt-spray corrosion testing, useful when a clamp will face moisture or road splash. These standards help compare measurable properties; they do not choose the right clamp for every hose. Check hose material, outside diameter, pressure, vibration, and service temperature. Then inspect the joint after installation for pinching, gaps, or hose bulging. A torque value should come from the clamp or equipment specification, not guesswork. Even a correctly selected clamp can fail when the hose is aged, mismatched, or poorly seated. That part is easy to overlook.
| Clamp Type | Operating Principle | Typical Uses | Advantages | Considerations | Selection Guidance |
|---|---|---|---|---|---|
| Worm-drive clamp | A screw engages slots or perforations in a band. Tightening the screw draws the band smaller around the hose. | General-purpose connections in automotive, plumbing, irrigation, and equipment service. | Adjustable, removable, and widely available in a range of diameters. | Perforated bands can press unevenly on soft hoses. Excessive tightening may damage the hose or cause the band to distort. | Choose a size whose stated diameter range includes the assembled hose-and-fitting outside diameter. Tighten to the hose or equipment maker’s guidance. |
| T-bolt clamp | A bolt draws the band ends together through a T-shaped bolt-and-nut assembly, applying circumferential clamping force. | Larger-diameter or demanding connections, such as charge-air, coolant, and industrial hose assemblies, when the application specifies this style. | Typically provides a robust, relatively uniform band contact compared with many lightweight perforated clamps. | Requires correct sizing and tightening; it may be unsuitable for small or delicate hoses. Performance depends on clamp design and installation. | Use when the hose assembly and operating conditions call for a heavy-duty clamp. Confirm the diameter range and any specified tightening procedure. |
| Constant-tension spring clamp | A formed spring band applies force as it is fitted. Its elastic movement helps maintain pressure as the hose diameter changes with temperature. | Factory-style coolant and other connections subject to repeated temperature changes, where the hose and fitting are designed for this clamp. | Can compensate for some hose expansion, contraction, and material relaxation without routine screw adjustment. | Installation can require dedicated pliers. It must be matched to the hose and connection; it is not a universal replacement for adjustable clamps. | Prefer the specified size and location for the assembly. Check that the clamp can move freely into position and is not overextended. |
| Ear clamp | One or more raised ears are compressed with a suitable tool, reducing the band diameter to create a fixed clamp. | Production assemblies and compact connections where a permanent, low-profile installation is appropriate. | Compact and tamper-resistant after installation, with no protruding screw housing. | Usually needs a dedicated installation tool and is not readily adjustable or reusable. The correct ear compression method matters. | Choose the clamp from the measured installed diameter and follow the tool and assembly instructions. Replace rather than reuse if the clamp is designed for one-time installation. |
| Wire clamp | One or more shaped wire loops contract around the hose as a screw or fastener is tightened. | Some molded, ribbed, or shaped hose connections where the clamp geometry is designed to fit the hose. | The wire form can provide concentrated clamping at defined contact lines and may fit certain shaped assemblies well. | Contact is less continuous than with a full-width band. Incorrect placement or use on a soft hose can create local stress. | Use only where the hose or equipment design calls for a wire-style clamp. Position it as specified and avoid substituting it solely based on appearance. |
| Quick-release clamp | A lever, latch, or over-center mechanism opens and closes the band, often without repeatedly turning a screw. | Equipment requiring frequent hose removal, inspection, or cleaning, when the connection is designed for this mechanism. | Faster to operate than a conventional screw clamp and convenient for repeated access. | Fit, locking security, and allowable service conditions vary by design. It may not suit high-vibration or high-pressure service unless specifically rated for it. | Check the manufacturer’s specifications for diameter, pressure, temperature, and vibration requirements; make sure the latch fully engages. |
Practical tip: Measure the outside diameter of the hose after it is fitted over the connection, then select a clamp whose working range includes that measurement. Clamp choice and tightening method should also match the hose material, fluid, temperature, pressure, vibration, and equipment instructions.